The Leak Detection Survey, Step by Step
A leak detection survey is a structured set of tests, not a wander round with a camera. Knowing the order helps you prepare, and it explains why the first hour goes on the meter and the pressure gauges rather than the damp patch.
Leak detection survey, step by step
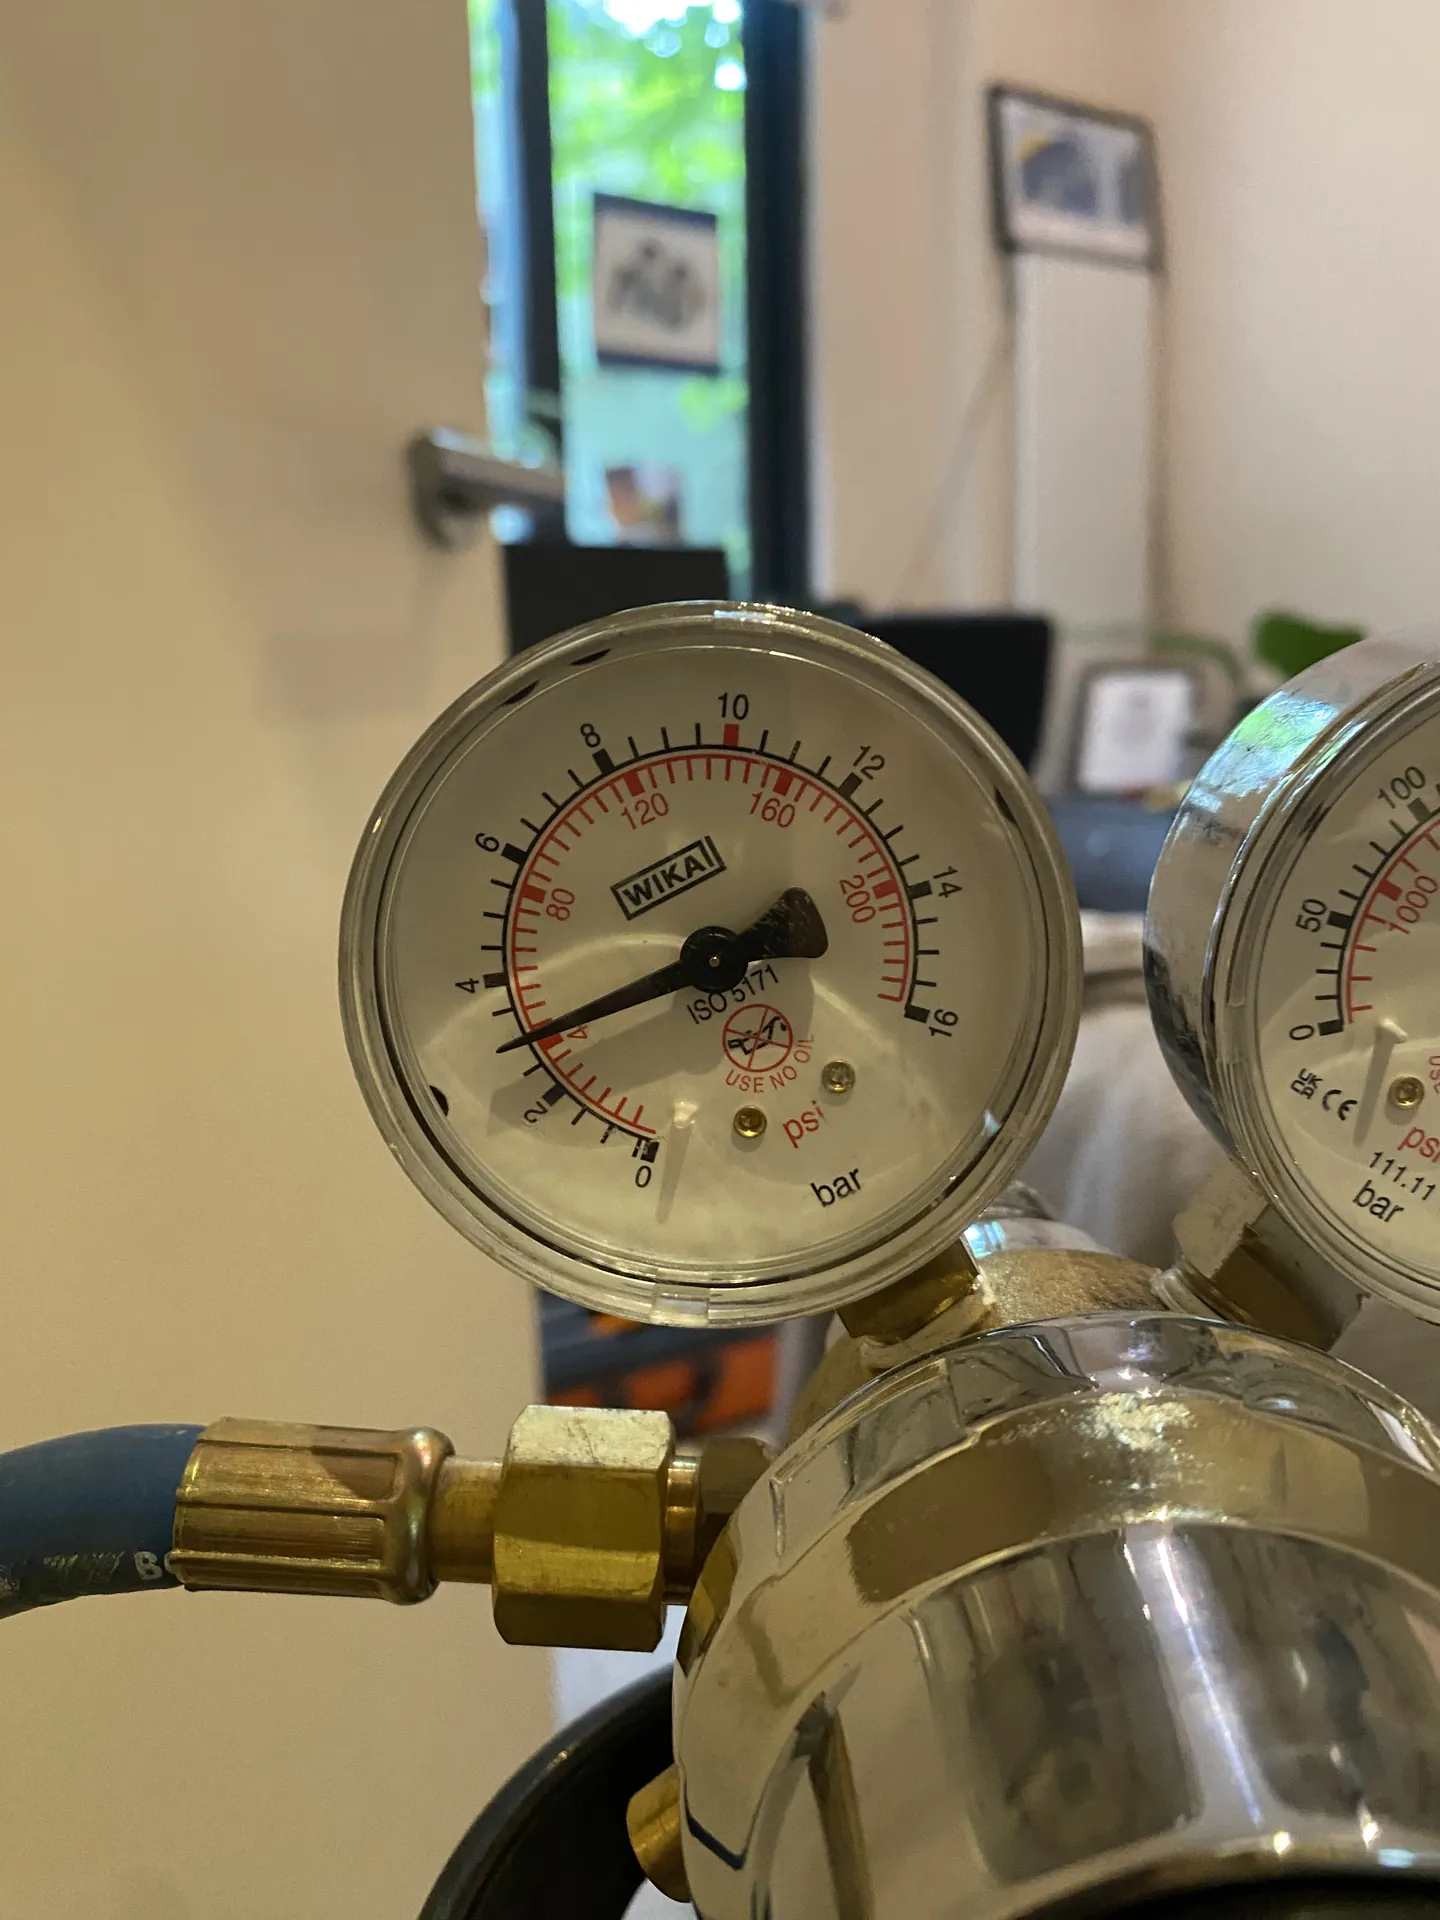
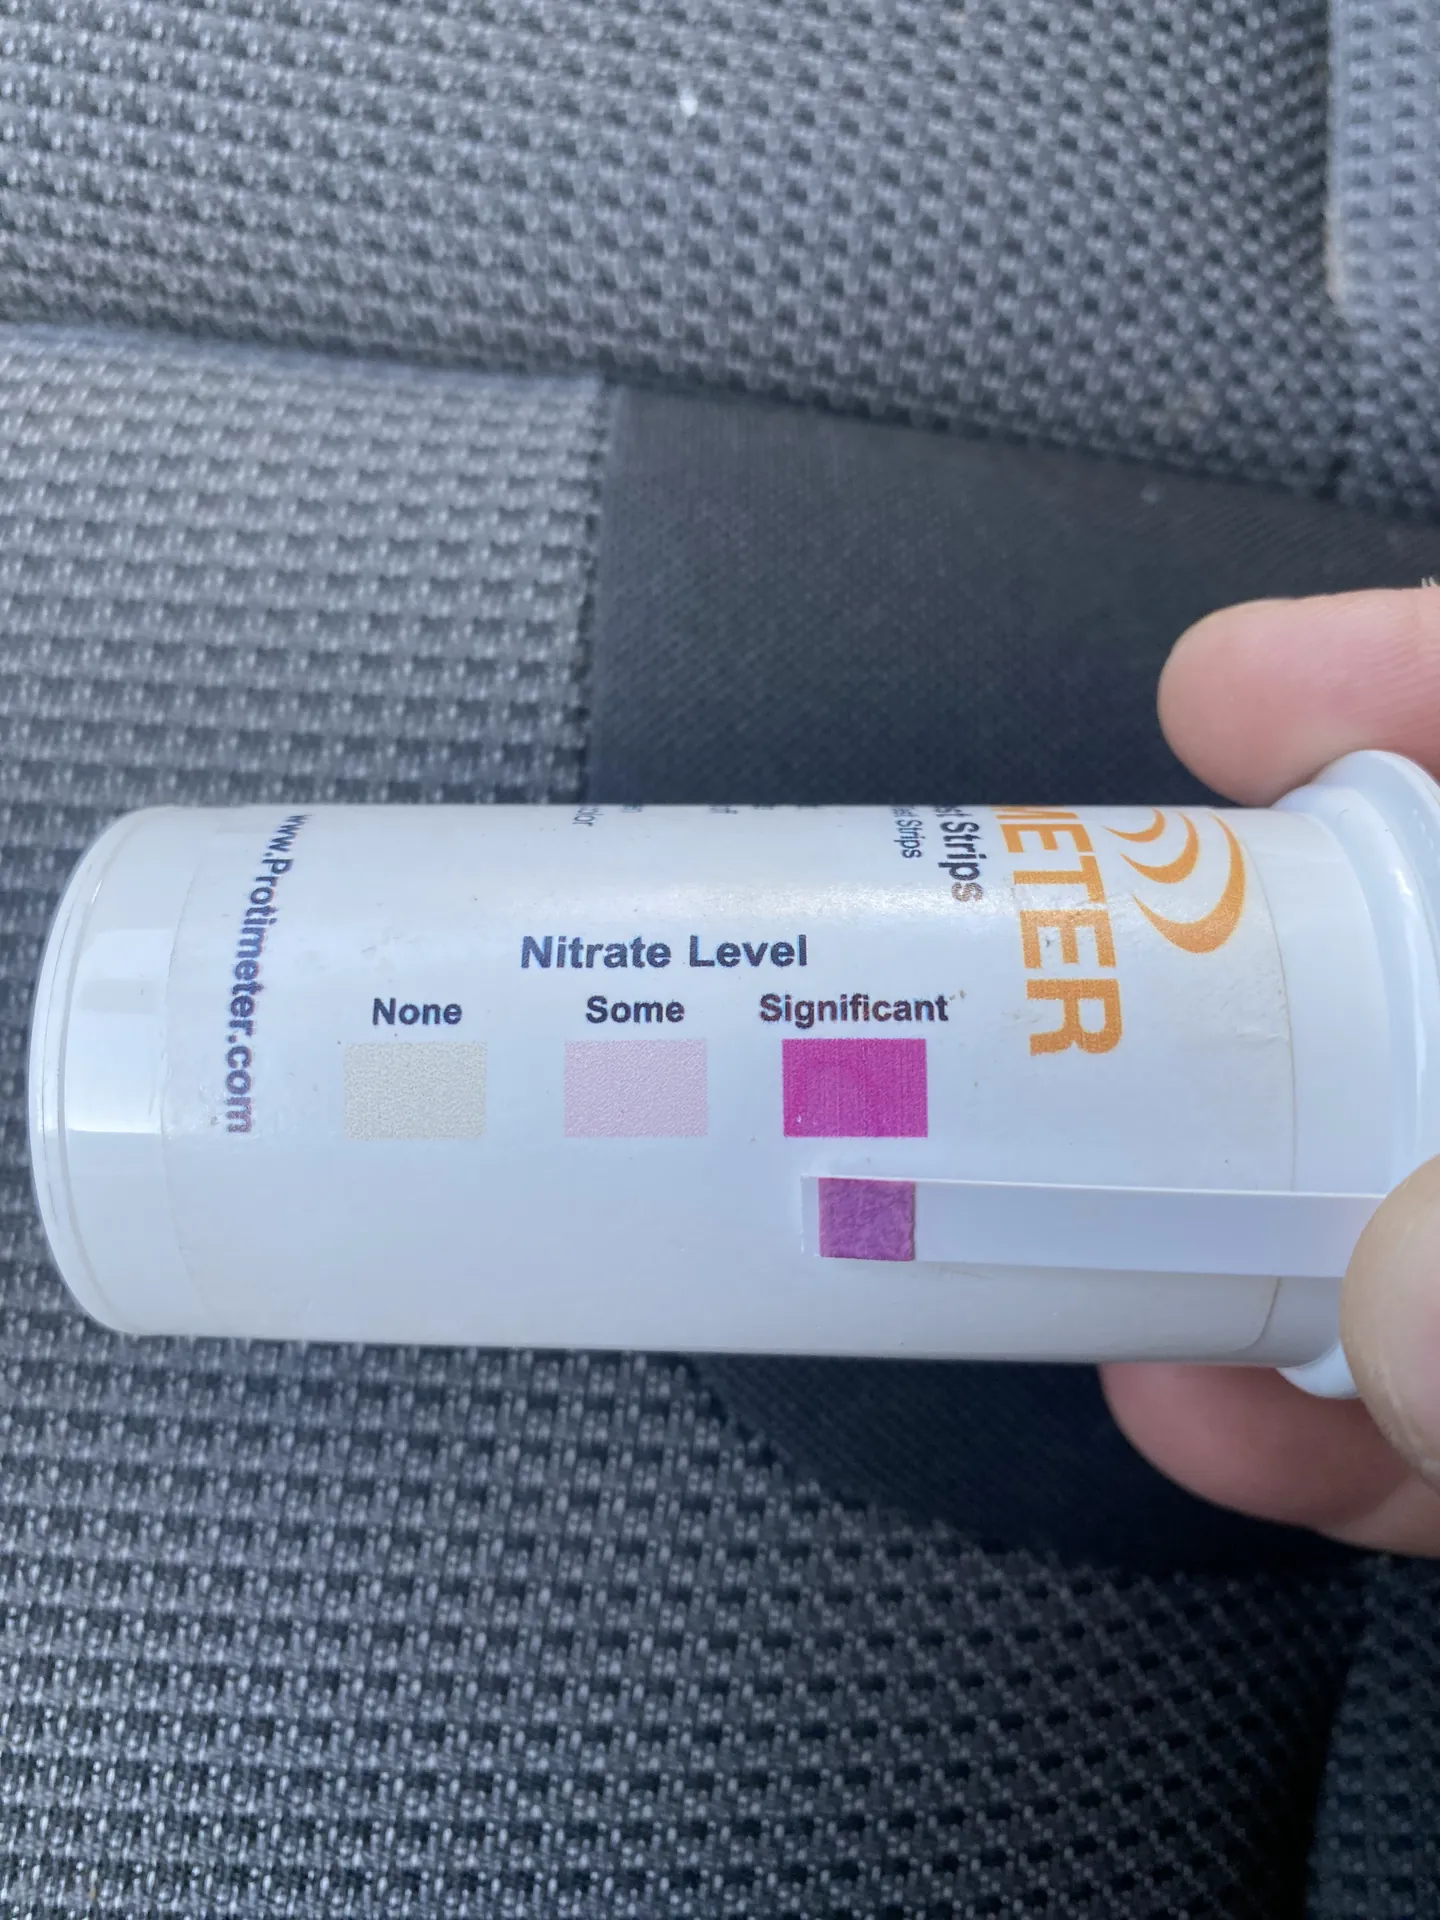
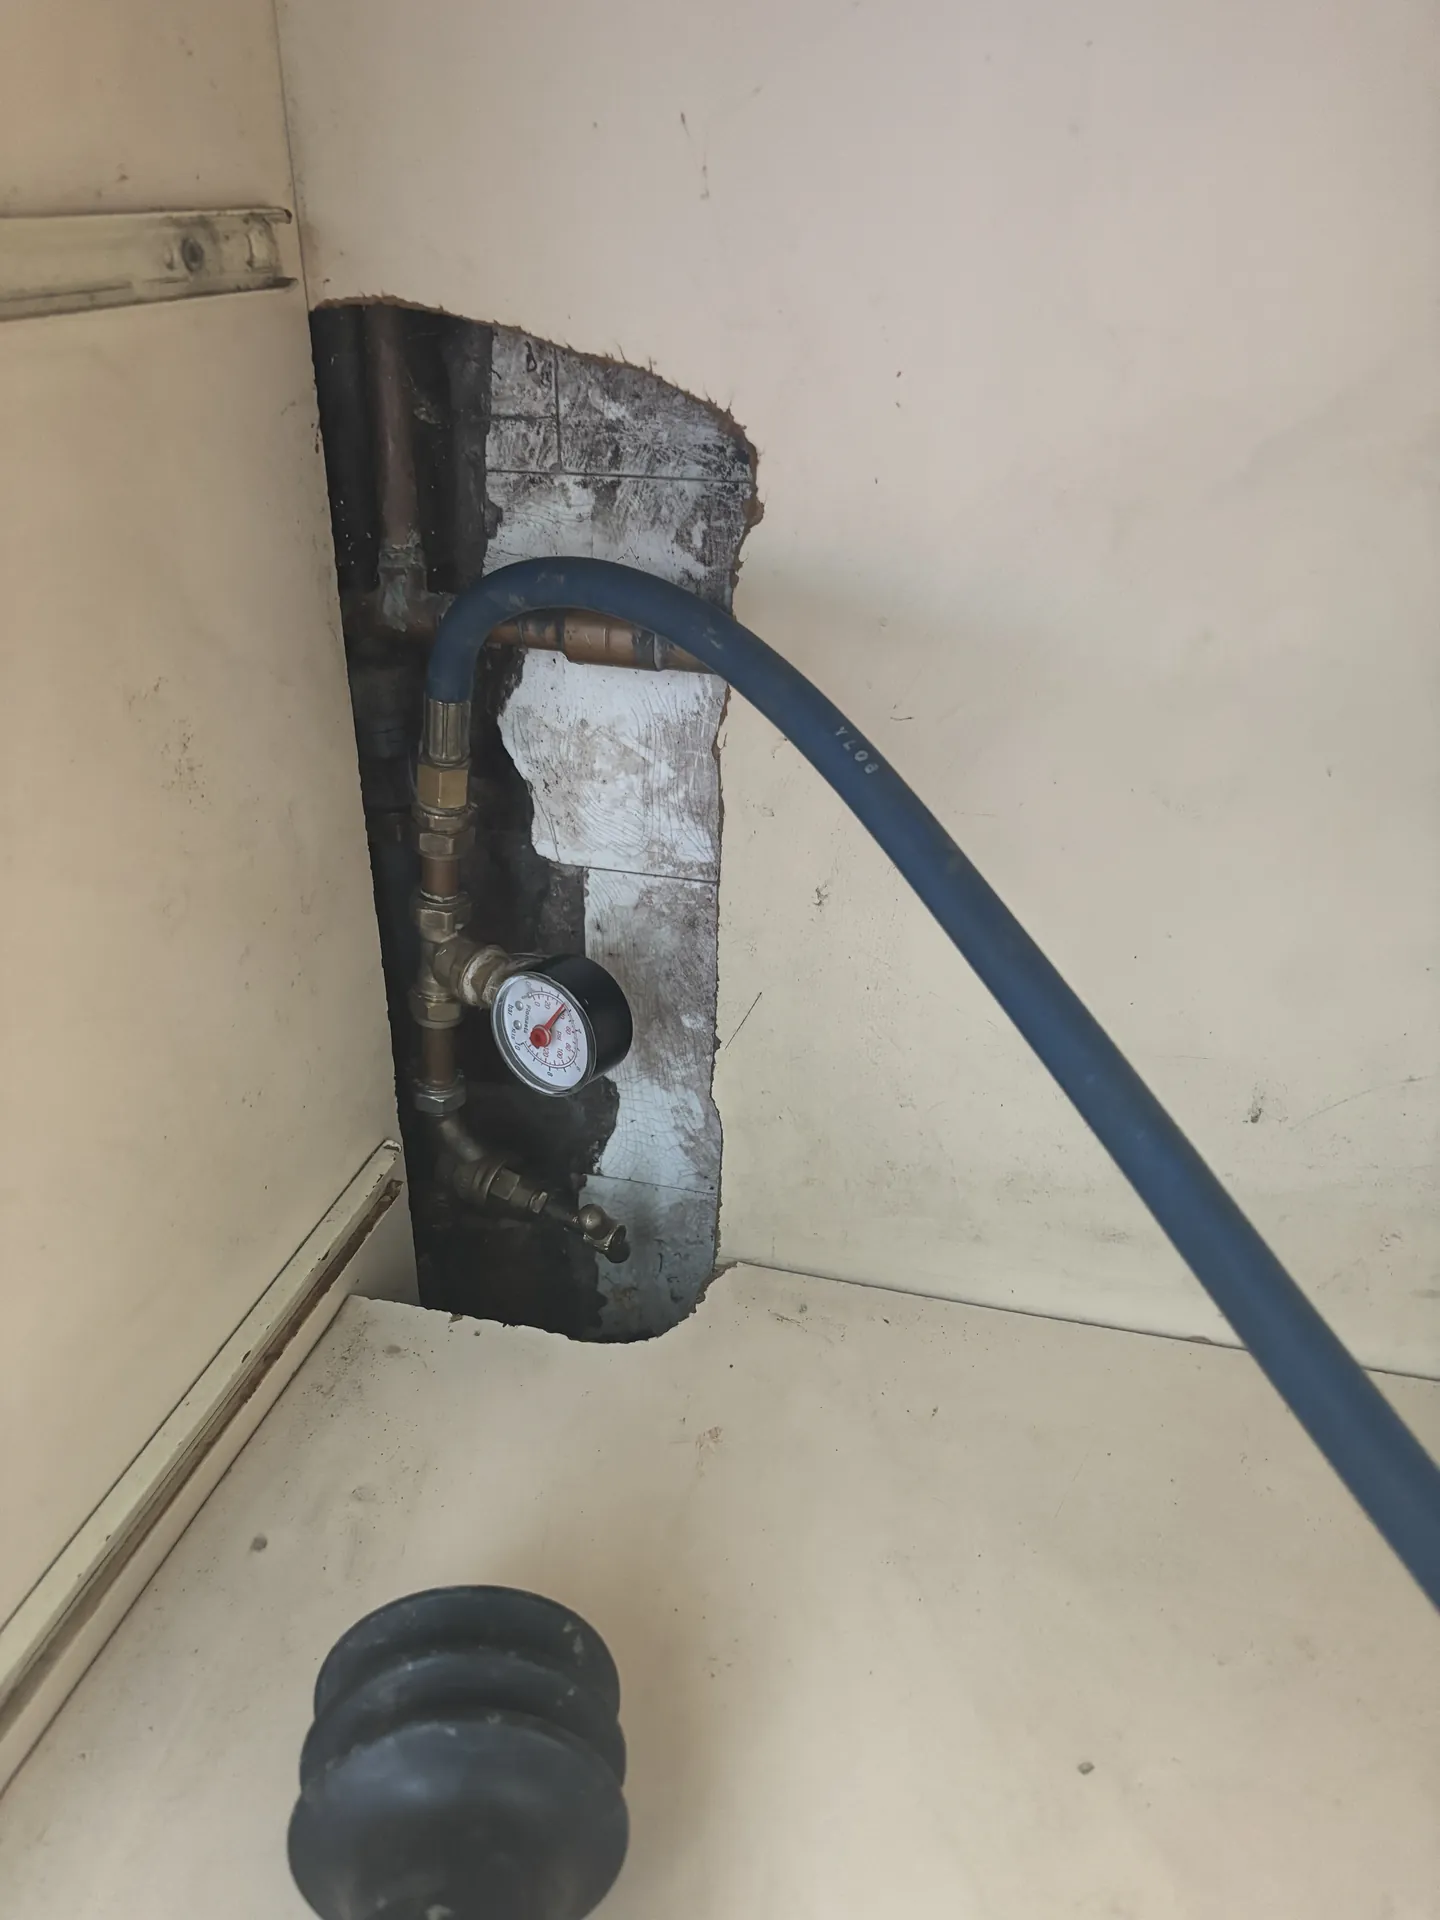
The survey starts with a conversation about what you have noticed and when, followed by a look at the meter with every tap and appliance off. If the meter moves, water is escaping on your side of it. A test strip on any water we can reach tells us whether it is mains, heating or waste water. Each system is then pressure tested in turn: the cold mains, the hot water, the heating circuit and, where there is underfloor heating, each loop at the manifold. By the end of this stage we usually know which system is leaking, and the search narrows from the whole property to one pipe run.
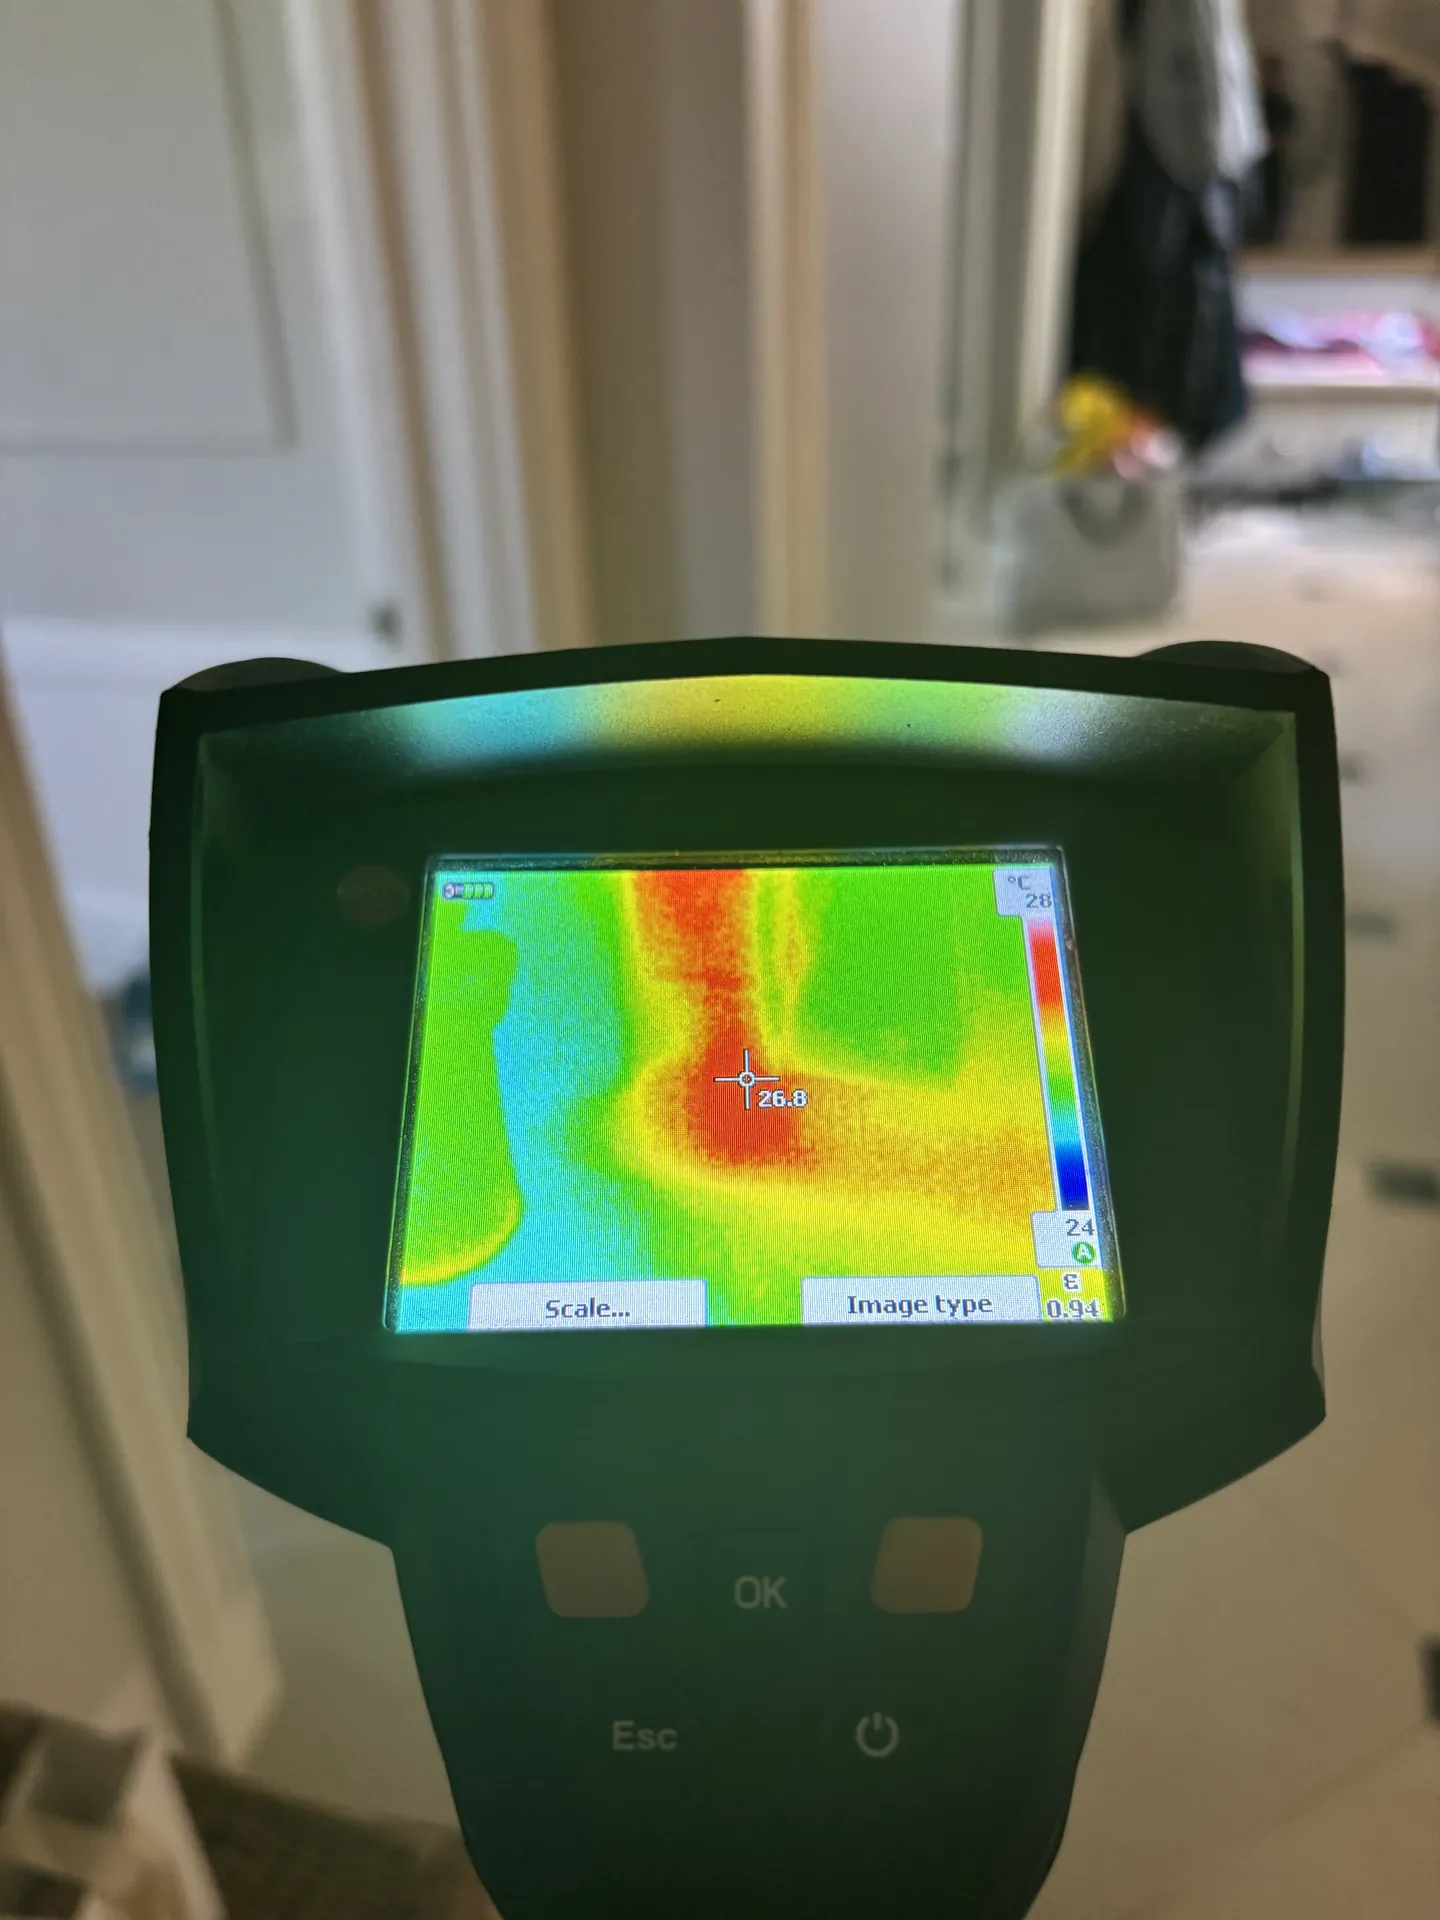
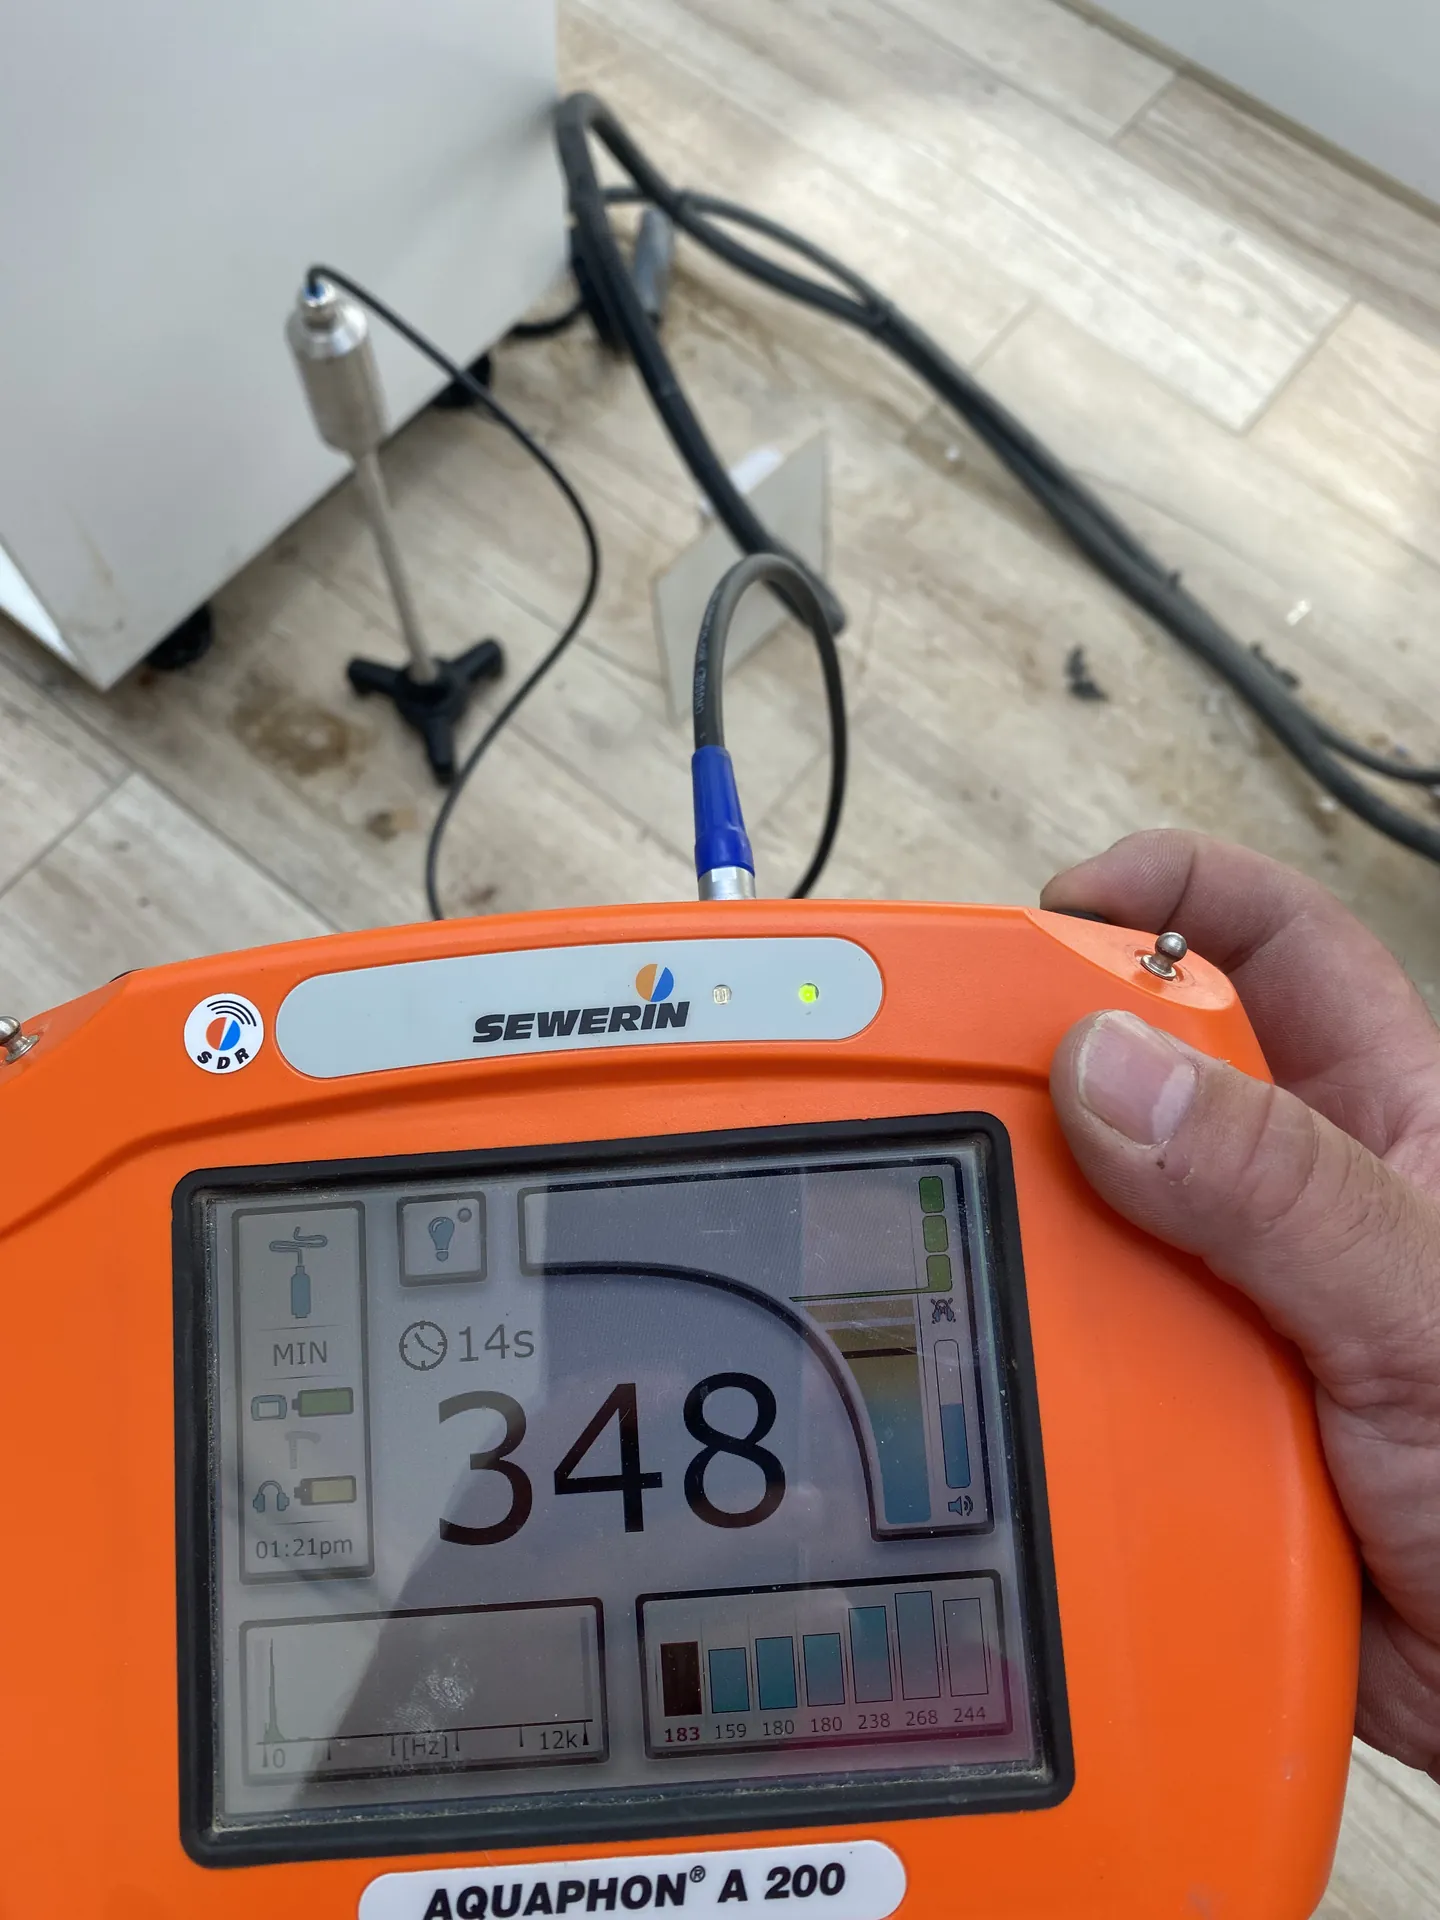
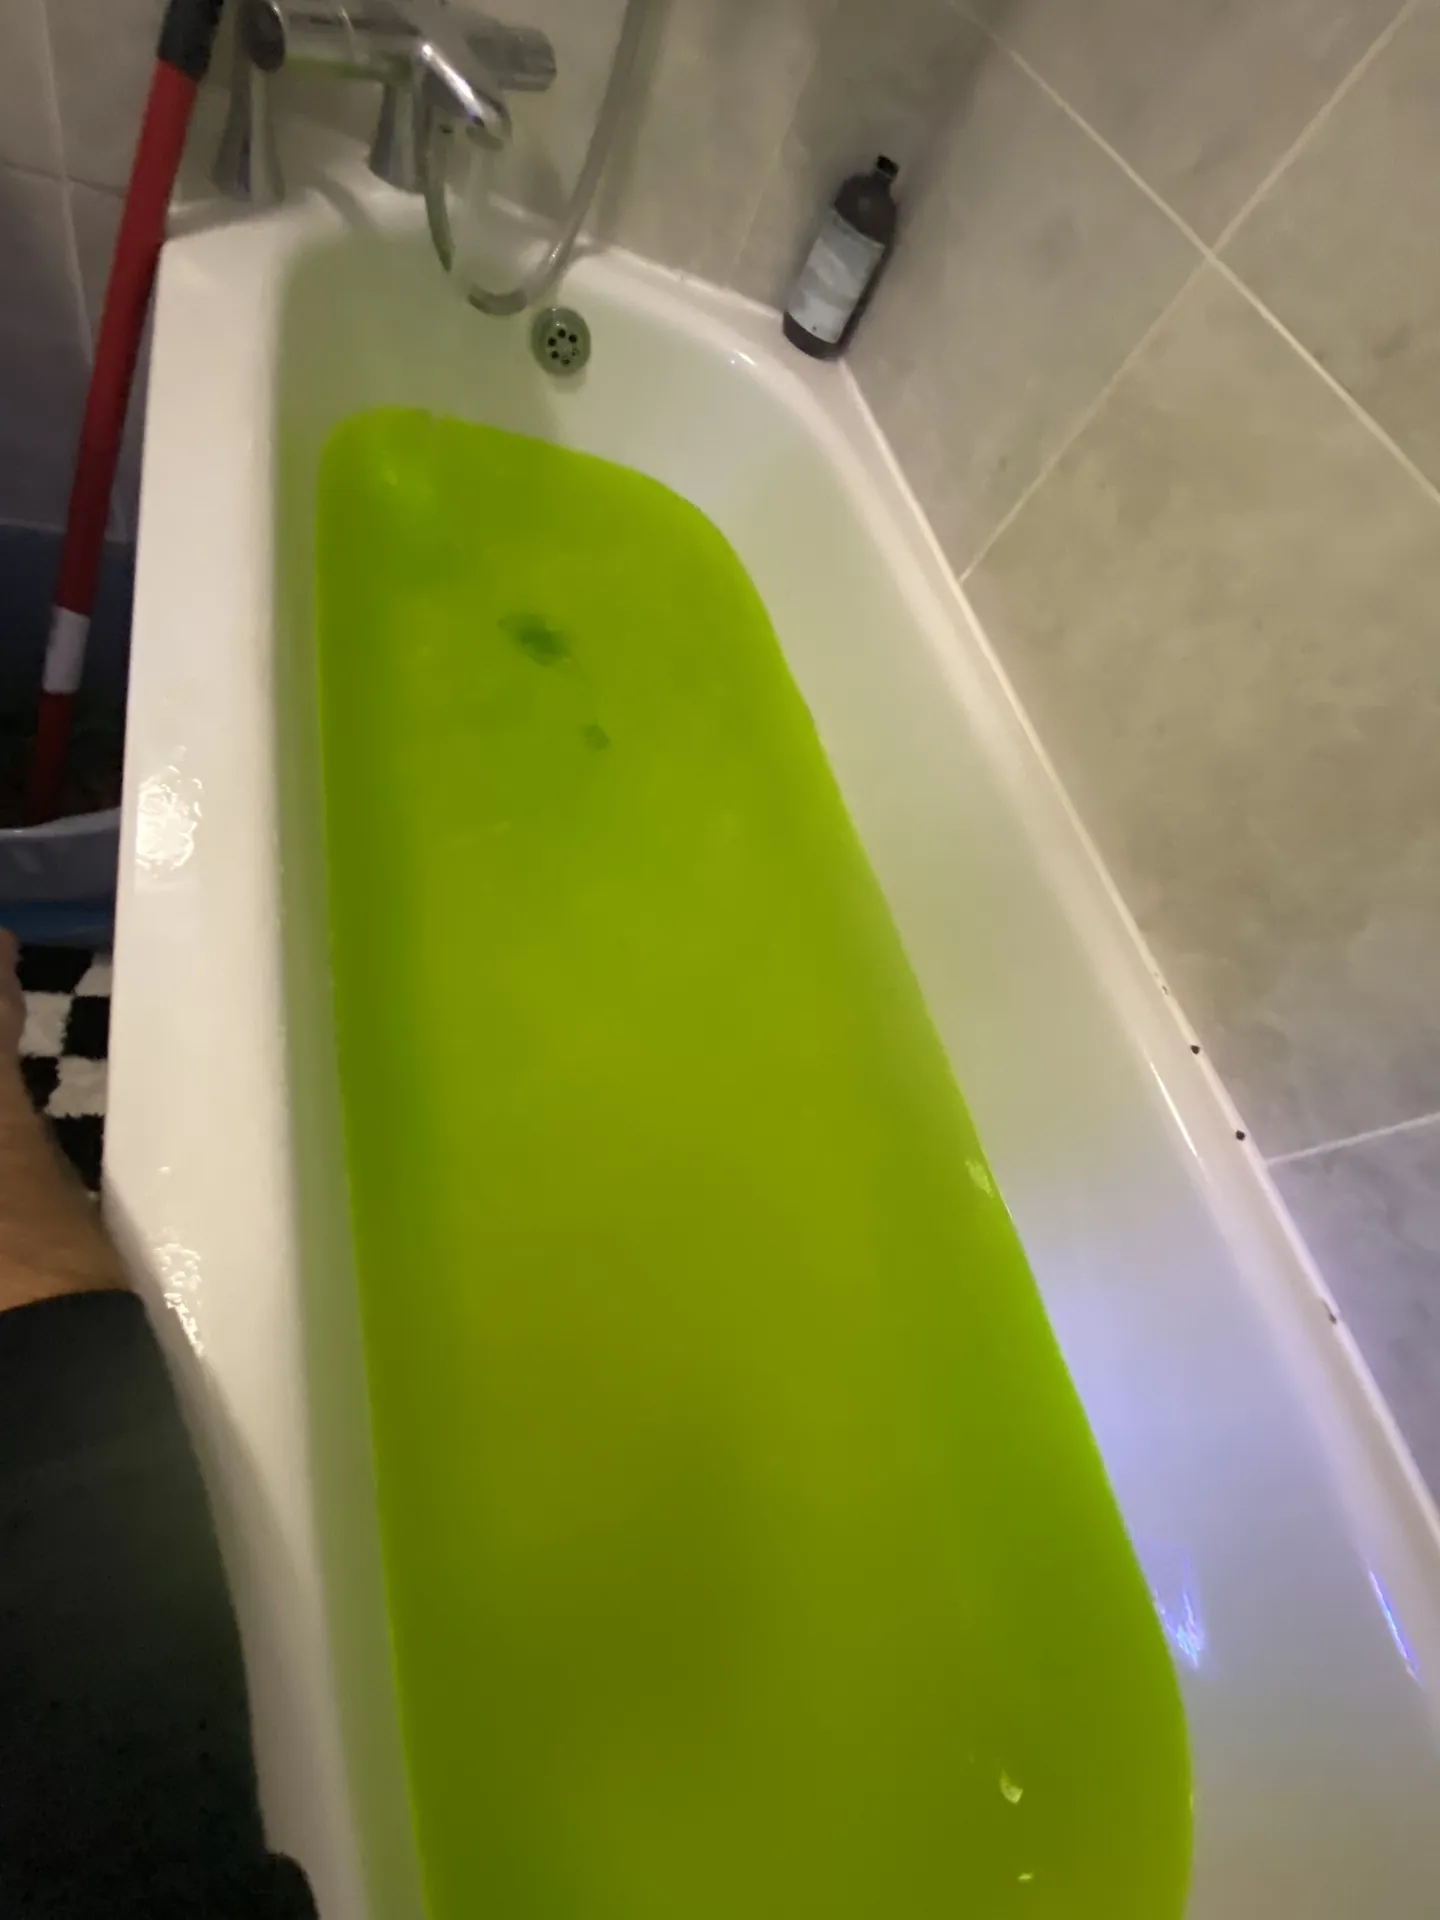
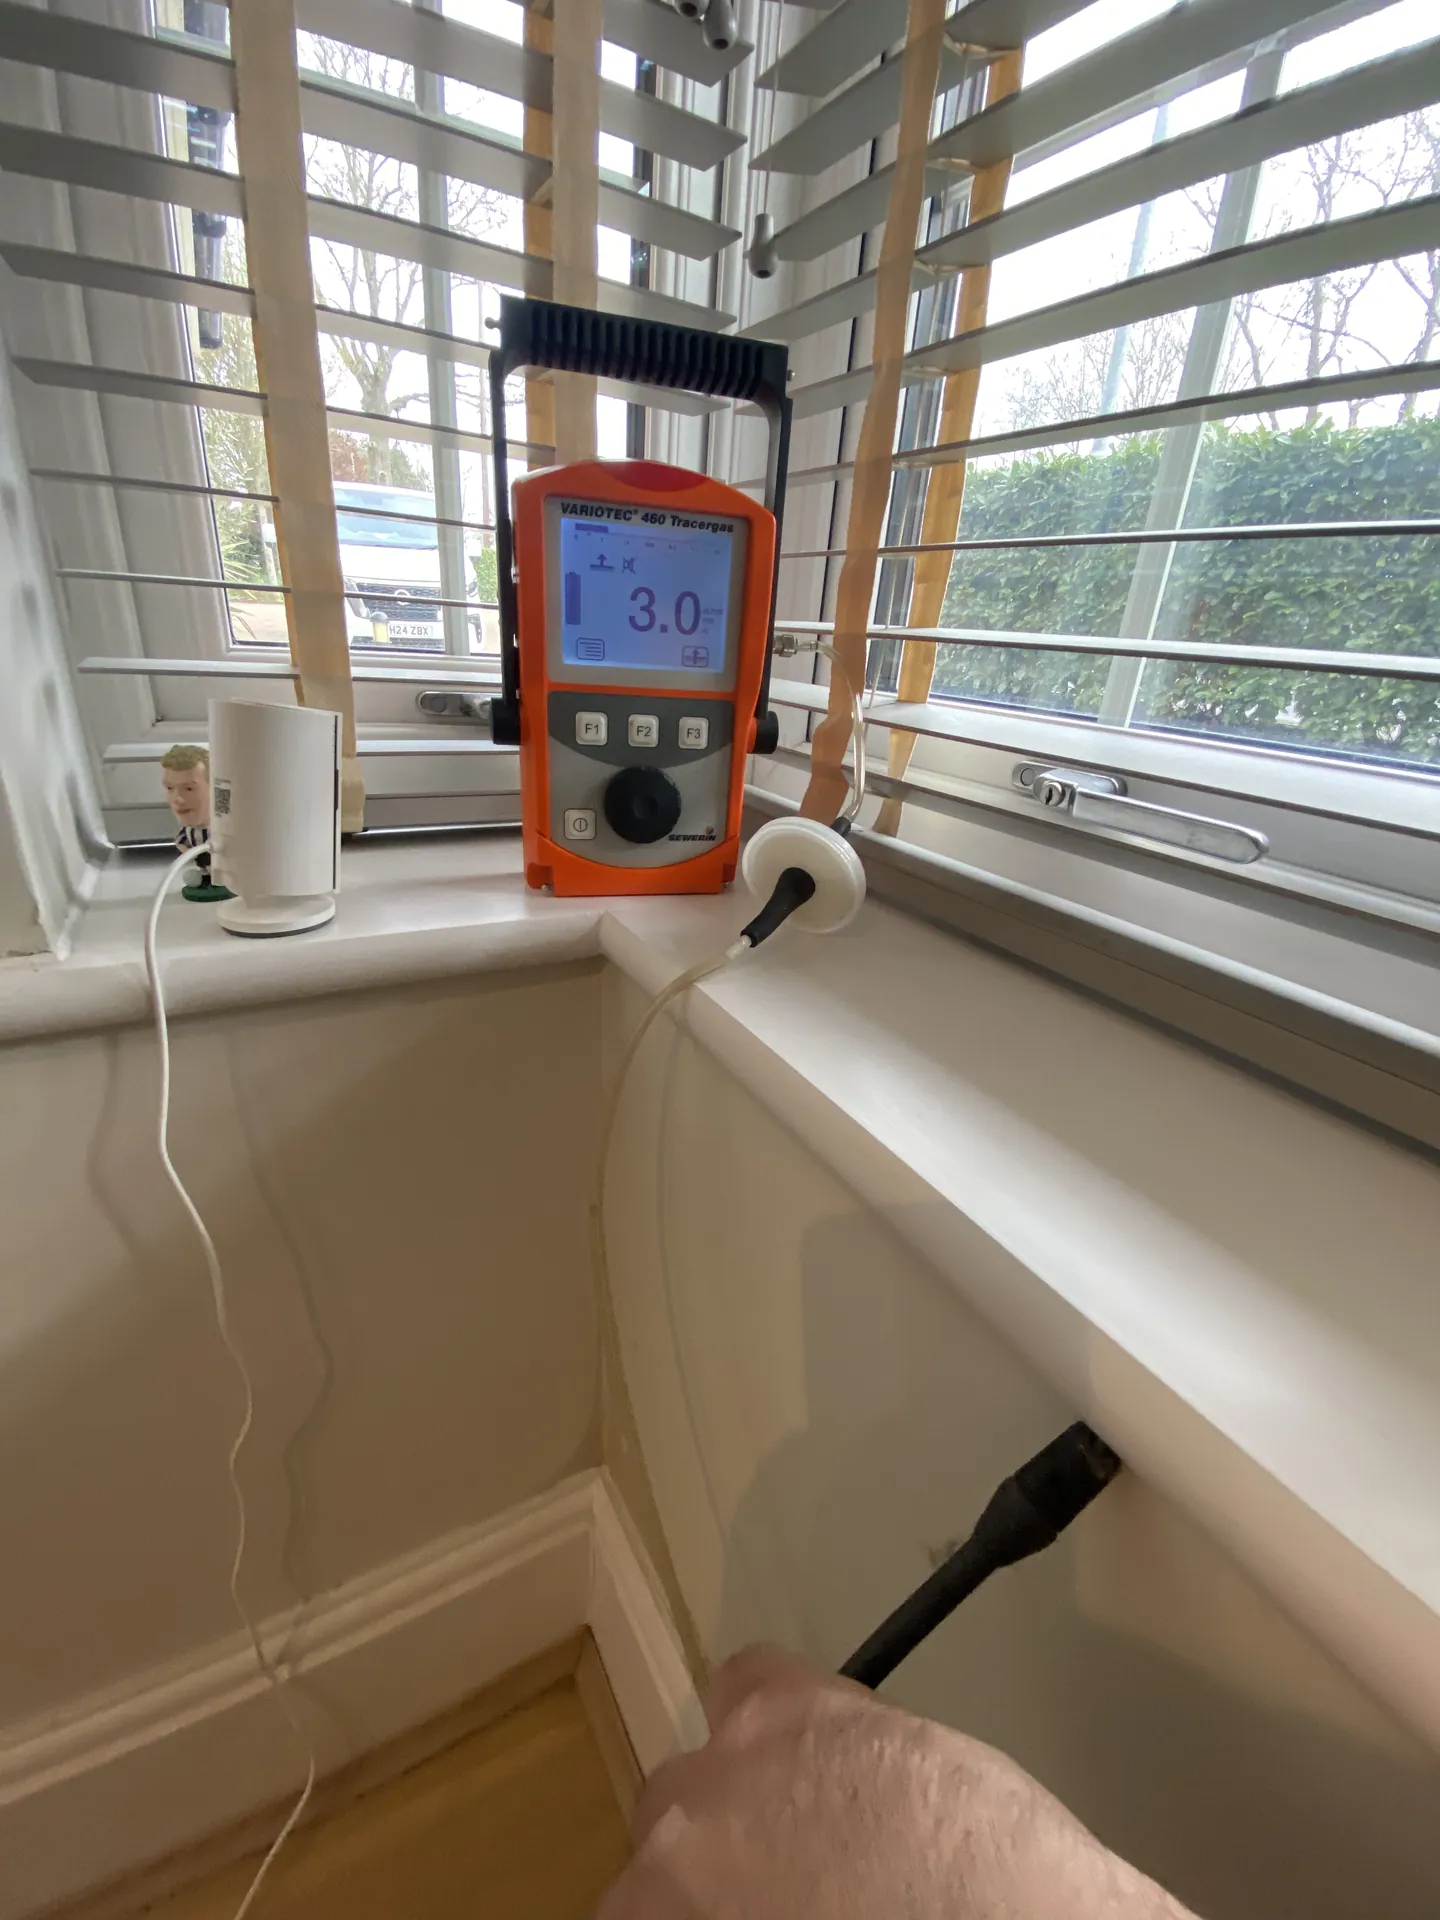
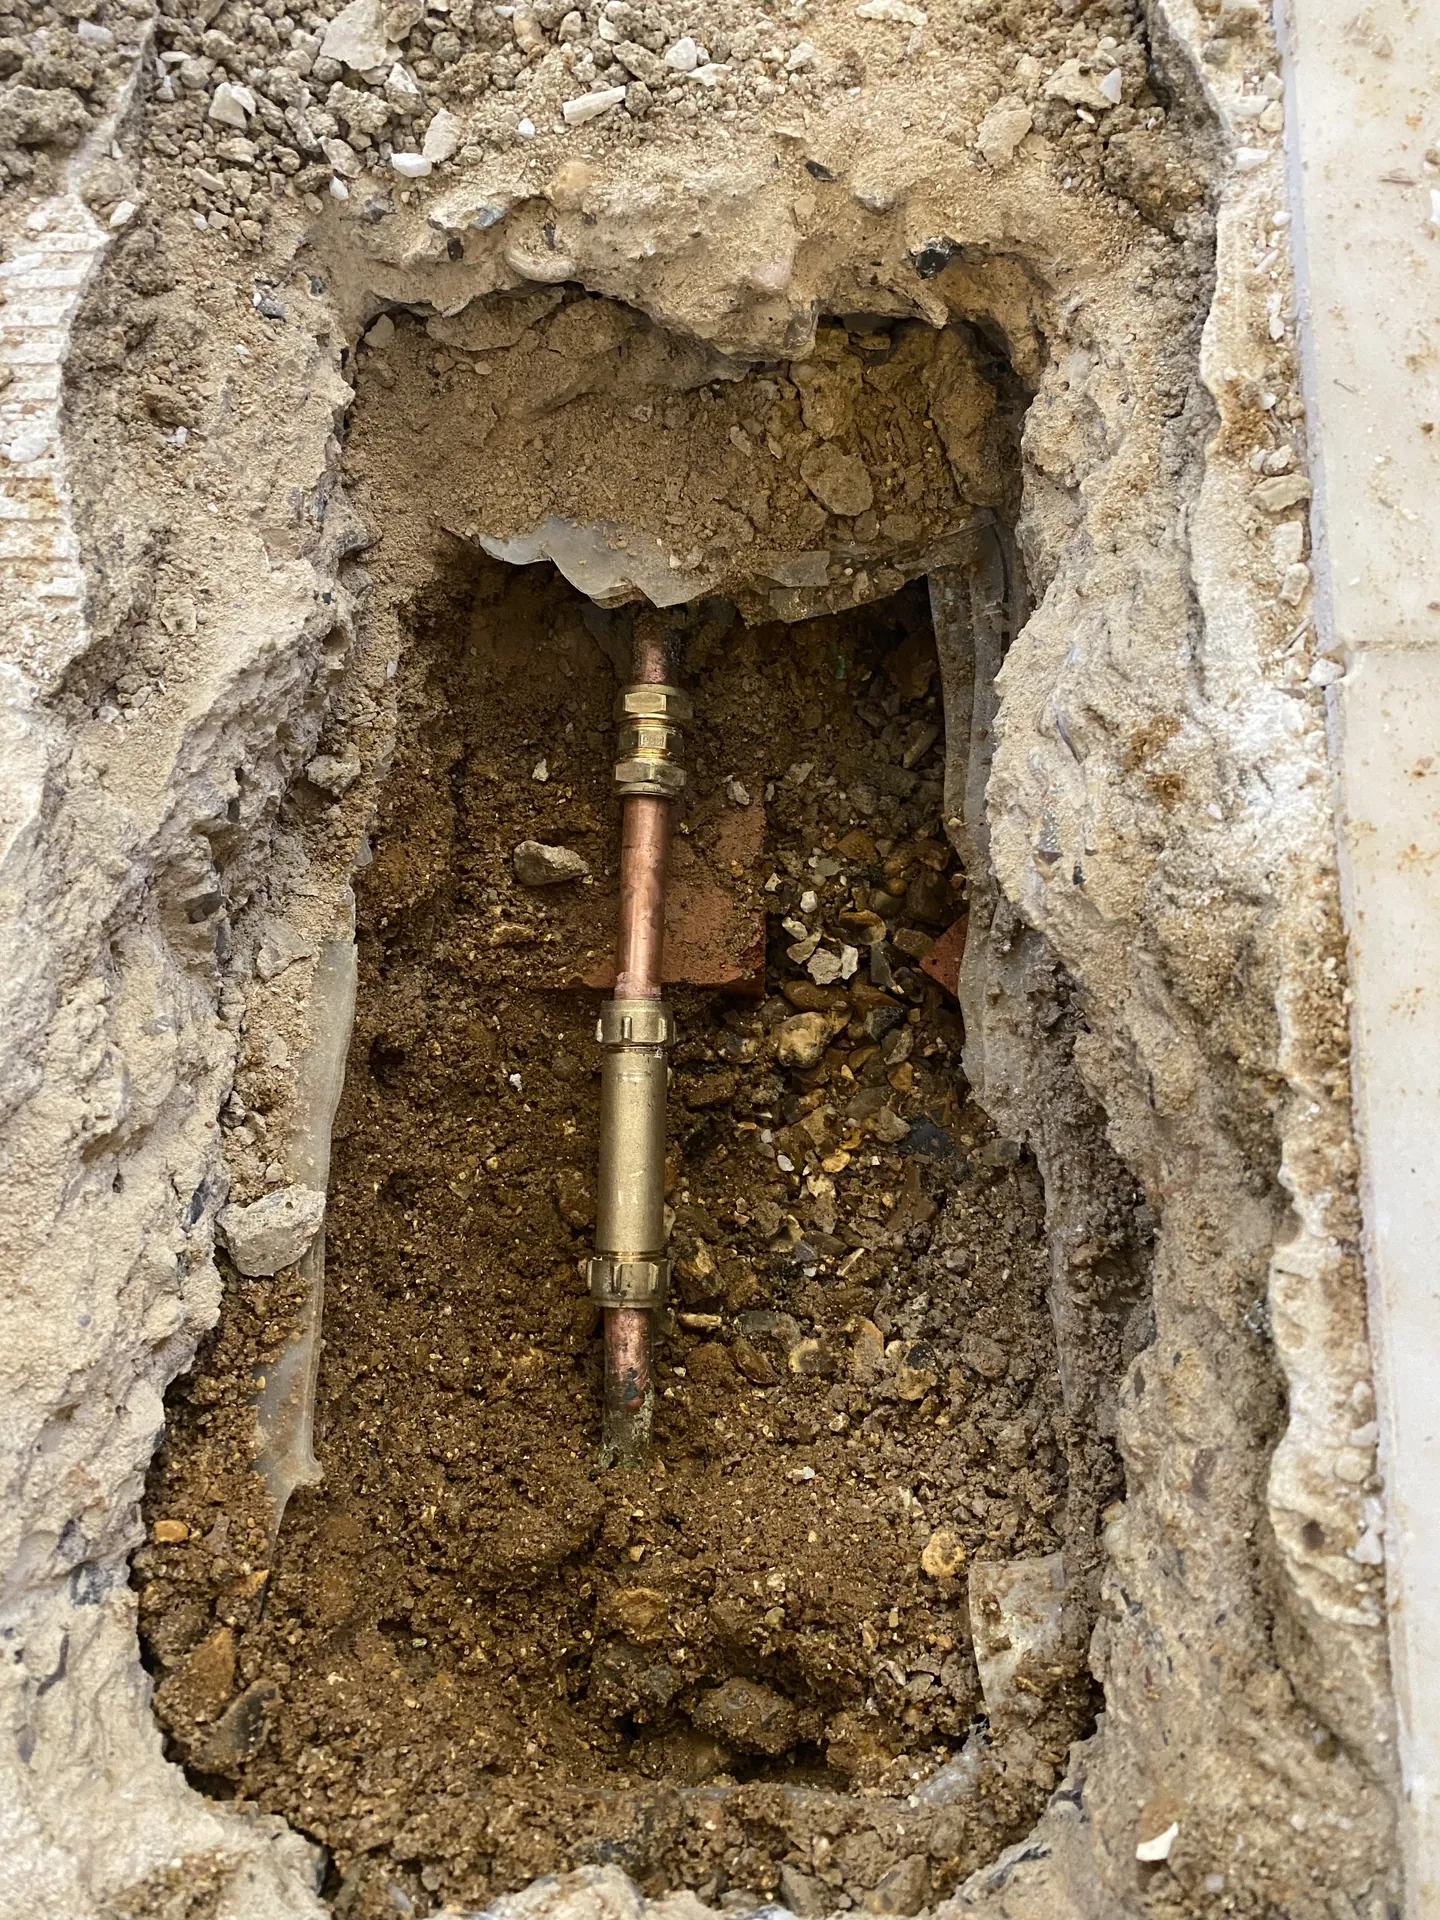
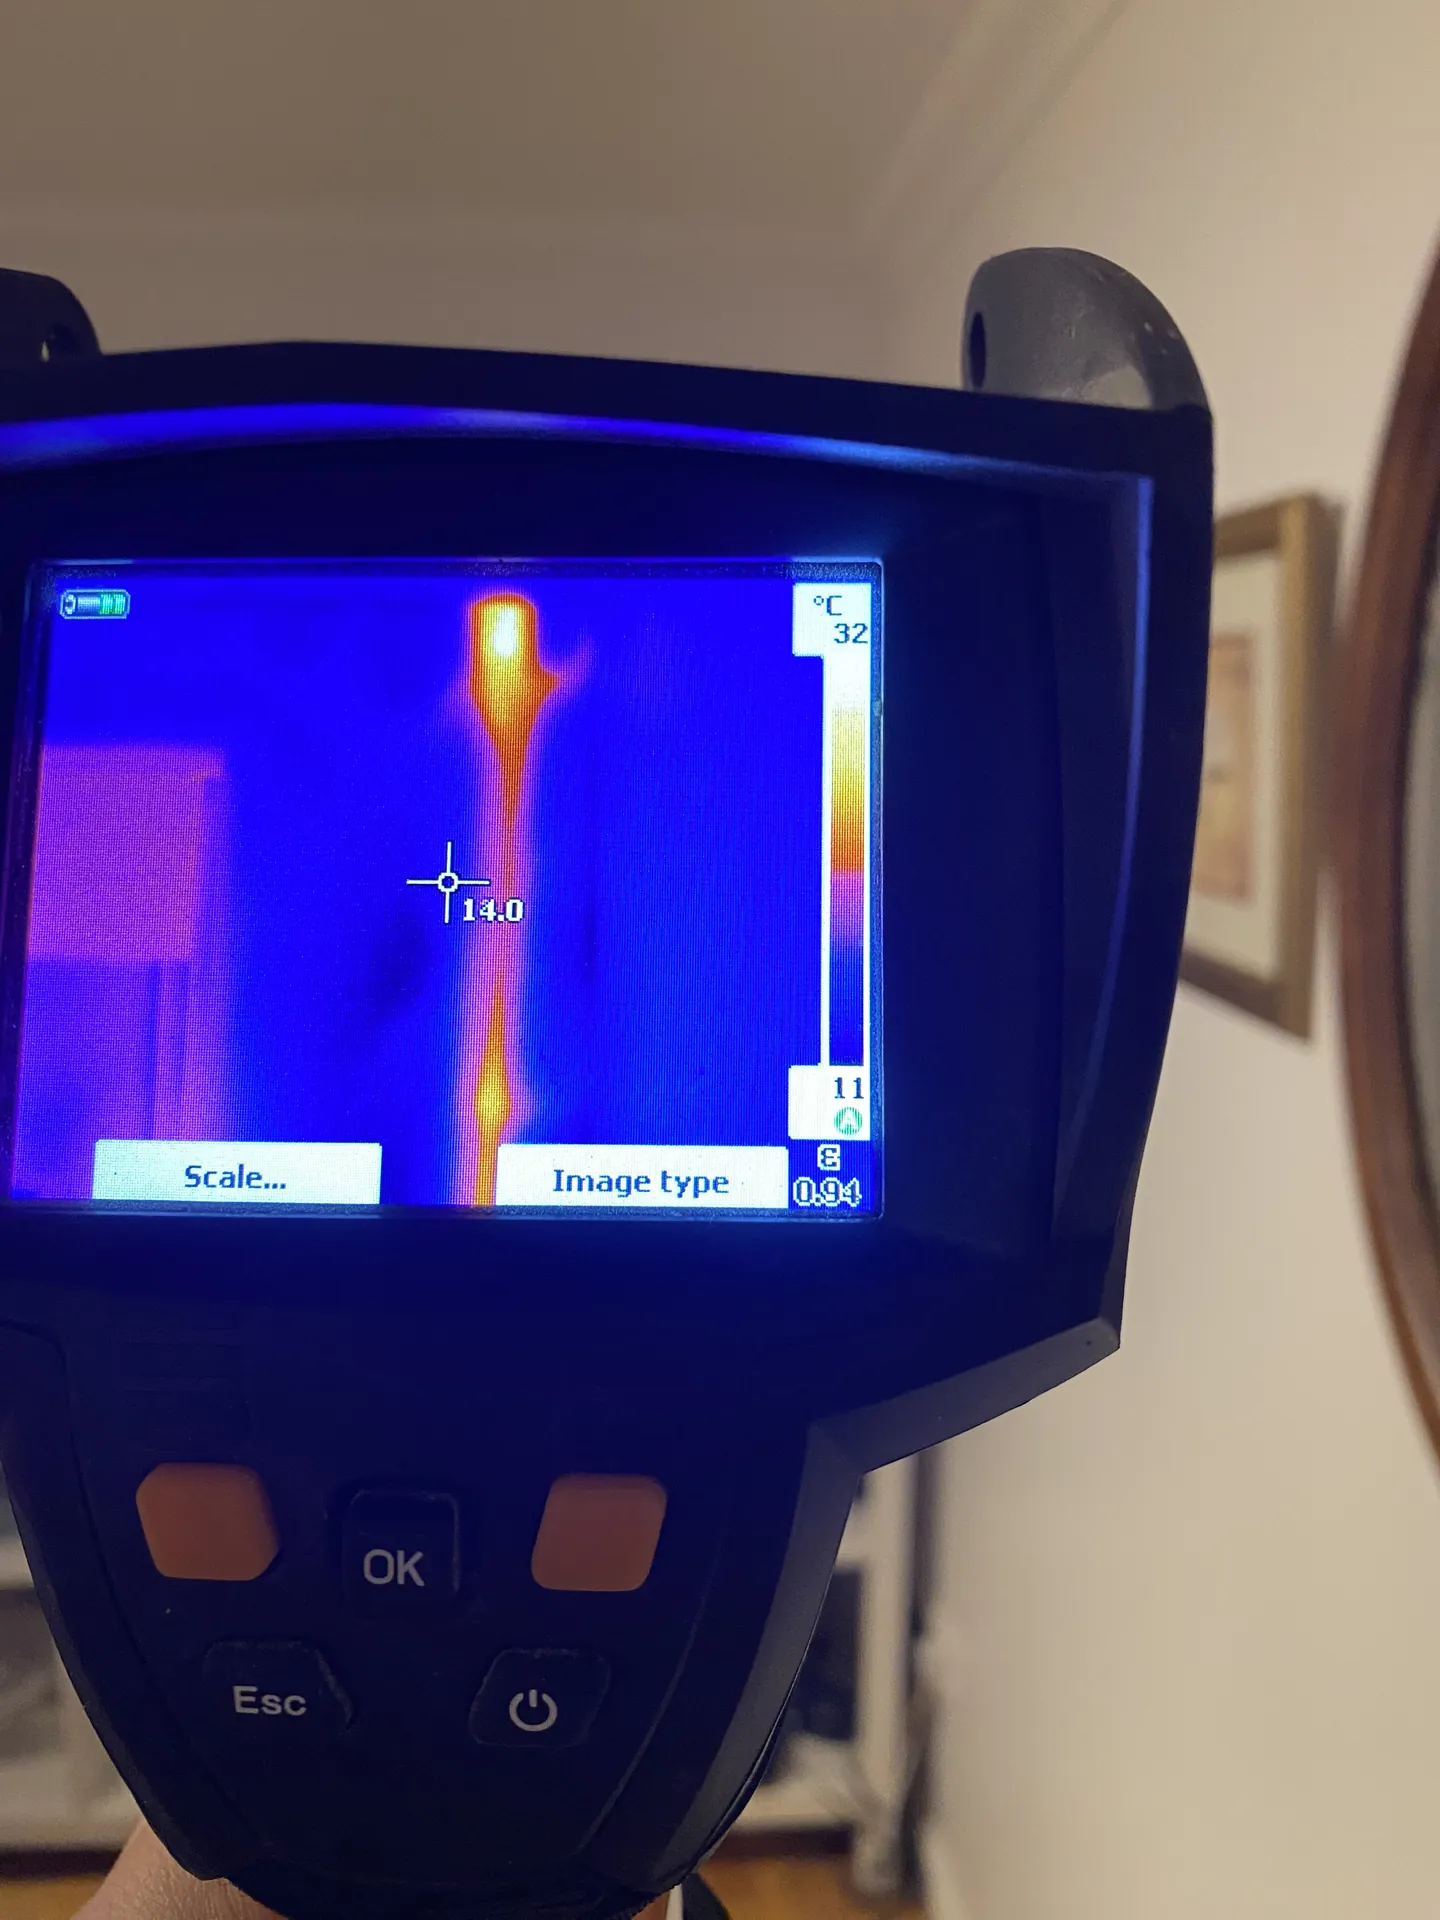
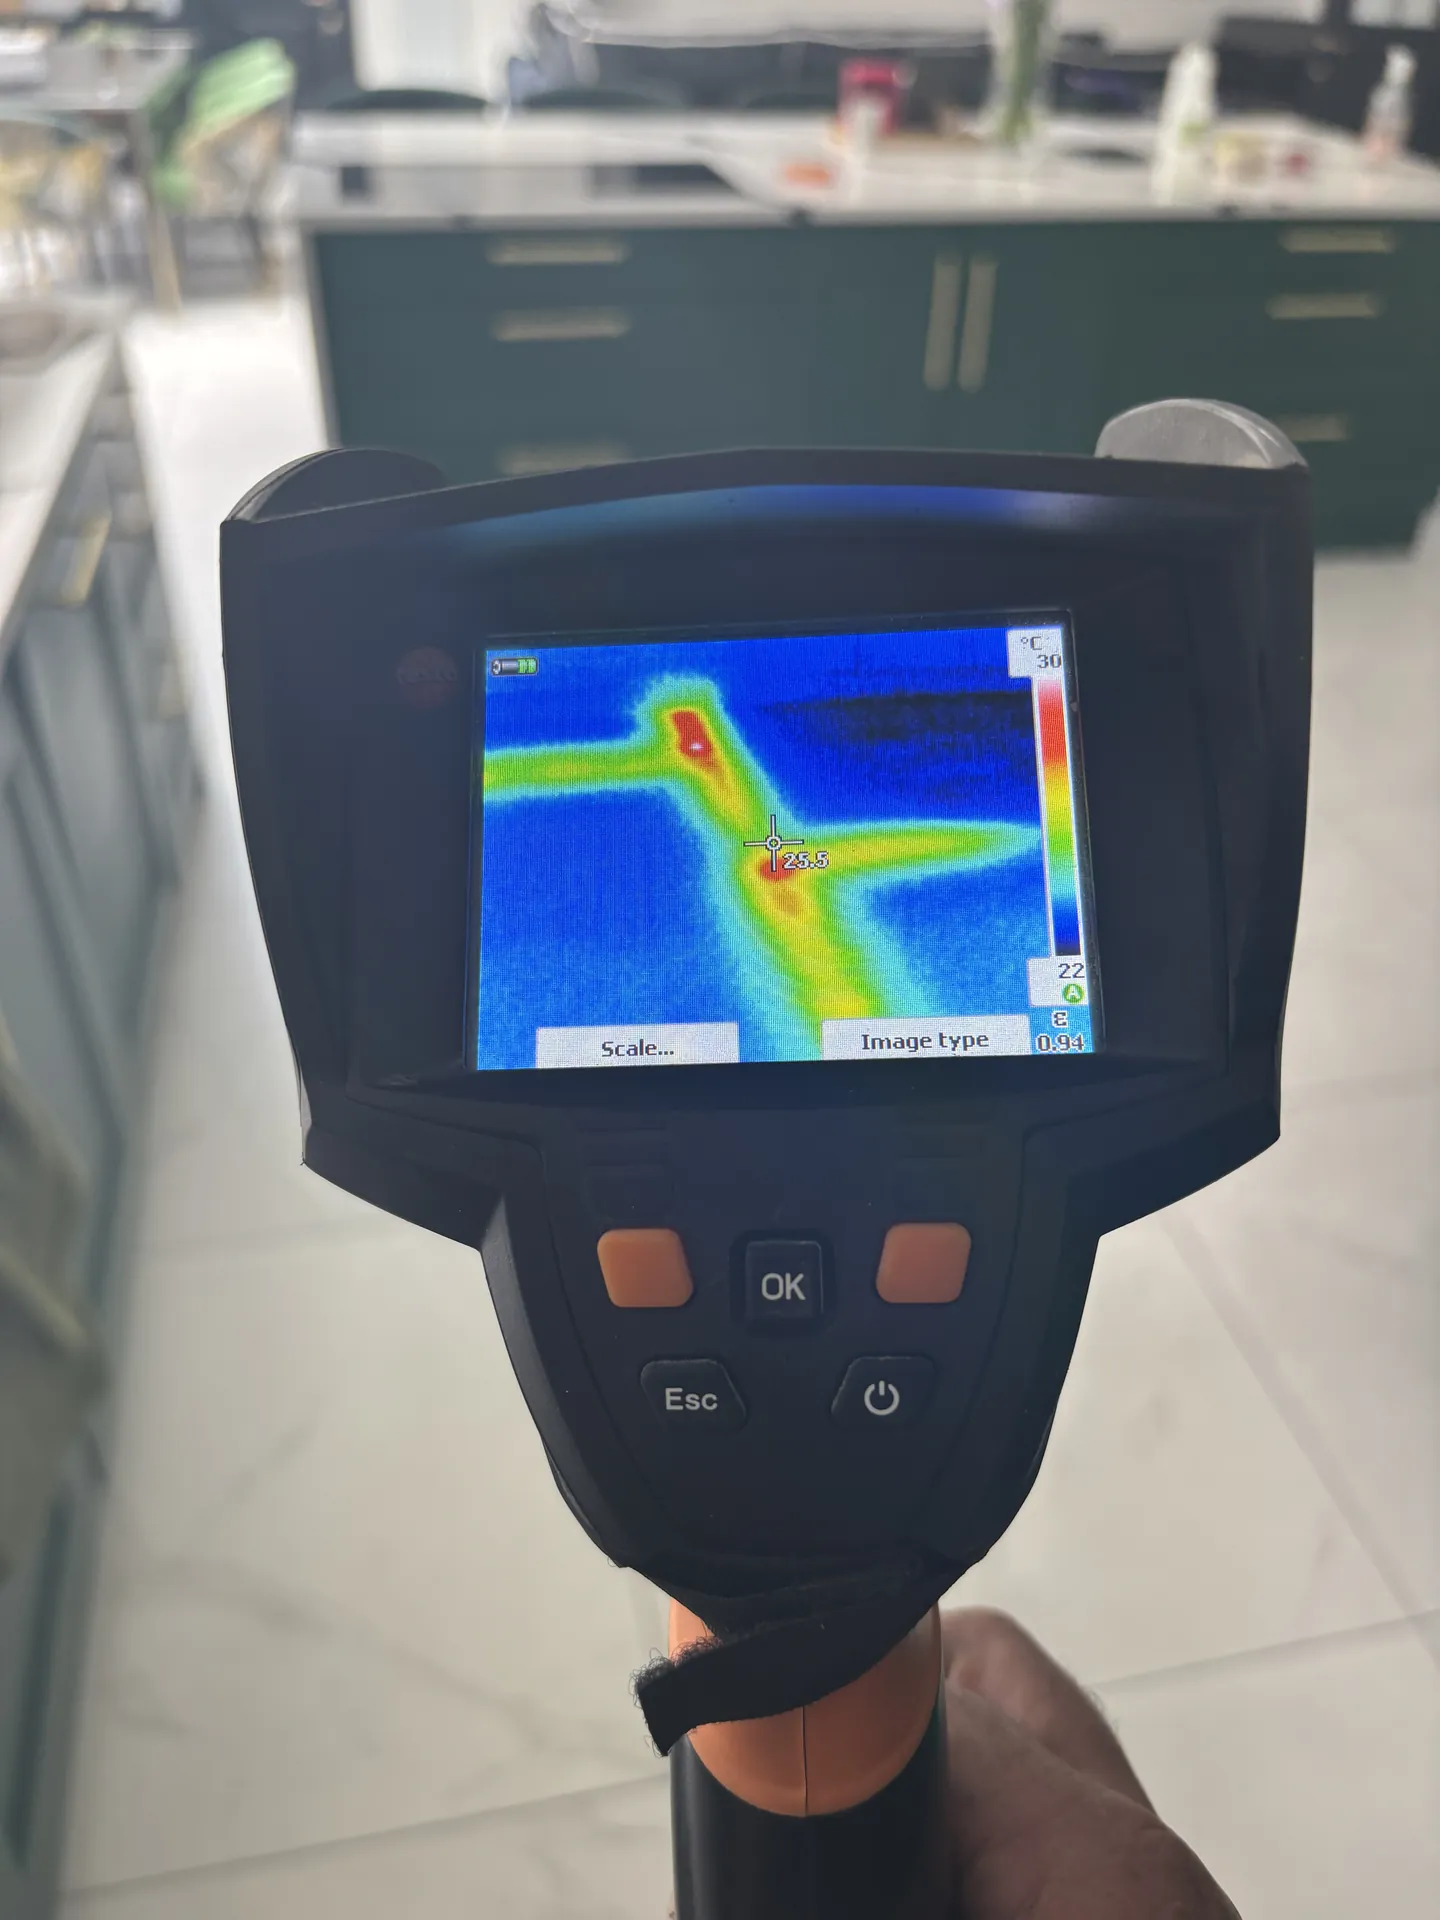
Then the locating kit comes out, in the order the pipe run calls for. The thermal camera goes over floors, walls and ceilings along the suspect run, with the heating on for warm pipes. The acoustic ground microphone follows on mains-pressure pipes, and tracer gas goes into any drained section that is plastic, buried or silent. Bathrooms get a dye test in the bath, shower tray and basin so a failed seal or waste is not mistaken for a pipe leak. A borescope is pushed into voids through existing gaps. The leak is then marked on the surface and photographed.
Most home surveys take between two and four hours, and we say before the visit if the property or the symptoms suggest longer. To prepare, have the heating on and know where the stop tap is. Clear access to the boiler, the meter, the airing cupboard and any manifold, and gather any photographs of the problem over time. The report follows, with the systems tested, the methods used, the readings, thermal images, photographs and the marked location. If nothing is found, the report still records what was ruled out, which is itself useful evidence.
In our own photos
From your first call to a leak you can see in the report
Call or WhatsApp with a few photos and a line about the symptoms. We ask a handful of questions, agree a fixed price and book the survey, usually for the same or the next day.
On arrival we pressure test the mains, hot water and heating, check the meter and test the escaping water, so we know what we are looking for before the detection starts.
Thermal imaging, the acoustic ground microphone and tracer gas are used as the pipework dictates until the leak is marked on the floor or wall.
You get a written report with readings, thermal images and photographs, ready for a trace and access claim. If you want the leak fixed, we open that one spot and repair it.
A report your insurer can act on
Most buildings insurance policies include trace and access cover for finding a hidden leak and making good the way in. Our report is written for that claim: what we tested, what we found, where it is, with photographs, thermal images and readings.
- Turn off the stop tap or the heating and stop topping up
- Photograph the damage, the boiler gauge and the meter
- Tell your insurer a leak is suspected and detection is being arranged
- Trace and access pays to find the leak and make good the access
The survey: questions answered
What should I have ready before the survey?
Heating on, stop tap located, and clear access to the boiler, the water meter, the airing cupboard and any underfloor heating manifold. Recent water bills and any photographs of the damp over time help too. If a neighbour shares a wall or a floor, let them know we may need to listen from their side.
How long will the survey take?
Allow two to four hours for a typical home. Large houses, flats with communal pipework, long underground runs and leaks that only appear under certain conditions can take longer, and we say so beforehand rather than rushing it.
Will my water or heating be off during the survey?
For short periods. Pressure testing and tracer gas both need the section being tested isolated and drained. We tell you before anything is turned off, and everything is refilled and bled before we leave.
What happens if you do not find the leak?
We tell you plainly, and the report lists every system and area tested and ruled out. That often points to a cause that is not a pipe at all, such as condensation, a roof or a failed seal, or it sets up a second visit under different conditions.
What is in the leak detection report?
The symptoms described, the systems tested and the results, the methods used, the acoustic and tracer gas readings, the thermal images, photographs of the marked location and of any opening and repair. It is written so an insurer, a loss adjuster or another plumber can act on it.
Related services
Need leak detection survey?
Call now and we will tell you straight away whether it needs a same-day visit. Or send a photo of the stain, the meter or the boiler gauge on WhatsApp.
07516 755 680